OSRS Catacombs of Kourend Guide
Jul-20-2020 PST
 The Catacombs of Kourend is one of the most compelling dungeons located within the kingdom of Great Kourend. If you like the skill Slayer, which is a much-adored, favourite-skill of many players, you’ll no doubt need to visit the catacombs. Be warned: many of the enemies here come in higher-levelled forms in contrast to the enemies you’ll find across the general game.
This guide will explain how you can enter the dungeon/its location, the various areas, and the monsters you can encounter. After reading this guide, you can proudly declare yourself as an expert of the Catacombs of Kourend!
How to get there

Getting to the Catacombs isn’t anything like getting to most other locations in the game. There are actually various entrances that you can utilize to access the dungeon. To be precise, there are 5 entrances. Four of these are alternative entrances, with one main entrance, that must be used for the first time you enter.
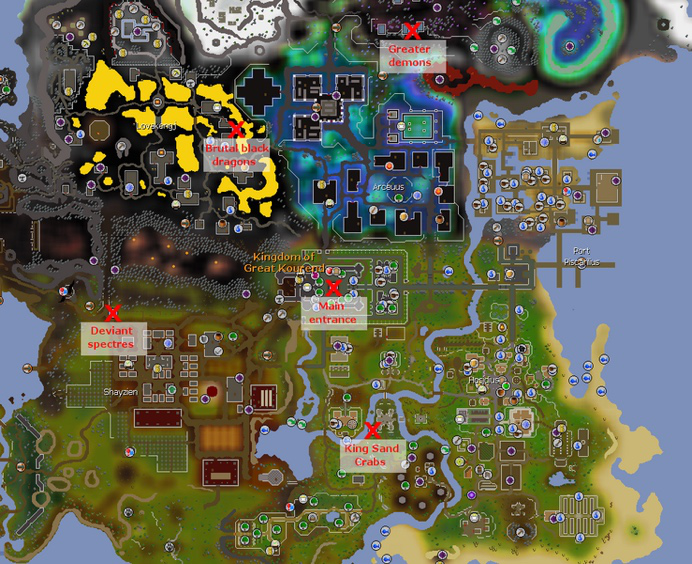
The main entrance that must be accessed first is in the dead centre of Kourend, next to the King Rada statue in the square.
To get to the King Rada statue, as always, you’ll have multiple choices. If you’ve never been to Kourend, go to Port Sarim, speak to Veos: he’ll take you to Port Piscarilius. From there, it’s a short run to the centre of Great Kourend.
For those who prefer faster options to the King Rada statue, the by-far fastest is using the Xeric’s Heart teleport from a Xeric’s talisman. You can get yourself a Xeric’s talisman as a 1/250 drop from lizardmen, shamans, and brutes. A more fun way is going to a Player-Owned-House party-world, where a host will have a teleport to Kourend available through a Portal Nexus. You can also use the Kourend Castle teleport spell, but that requires level 69 Magic and having already read transportation incantations.
If it’s so easy to get to the main entrance, why bother with using the alternative entrances? The reason is that you have to traverse the dungeon from the main entrance, as you’re placed in the centre. By using strategic teleport options such as Xeric’s talisman, you can get to where you need much faster. For example, if you use the entrance near the much-adored sand crabs’ area of Kourend, you’ll end up in the south-side of the dungeon.
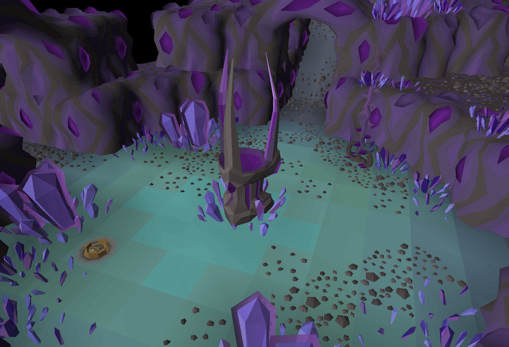
To unlock these alternative entrances, you must climb the vines upwards from the dungeon. These vines are highlighted by a blue-arrow icon on your minimap. Here’s a list of the alternative entrances, for your convenience (to be referred to alongside the above picture):
· North-east, Greater demons.
· North-west, Brutal black dragons.
· West, Deviant spectres.
· South, King sand crabs (located north-east of the Woodcutting guild)
Layout of the Catacombs

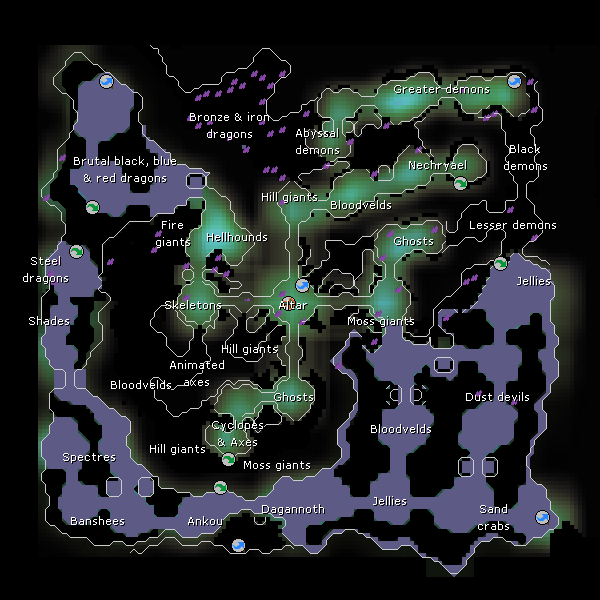
The layout of this dungeon is actually quite intelligent. Many of the monsters are collated together based on the type into certain geographical sections. The demons are located within the north-east, ranging from Ghosts, transitioning into Black demons, Abyssal demons, and Greater nechryaels. The ghosts may only be level 19, but the Black demons are level 184 - a big jump up from what you’ll find in other dungeons!
In the north-west, you’ll encounter your fair share of dragons. The entire area is covered with practically every dragon you can imagine in the game: from steel dragons to brutal red dragons. Don’t expect rune dragons from Dragon Slayer II though! Another thing to note about this section is not only are dragons present, there are hellhounds and fire giants as well. As displayed in the map, these are the enemies you encounter before the dragons.
In the south-east segment, you’ll find the dungeon refreshed with a ton of H2O. You’ll encounter many undead creatures, some you’d expect in the water, such as Dagannoths and Warped Jellies. You’ll also see enemies like Dust devils and Mutated Bloodvelds, alongside Cyclops.
 The south-west area is known as the Reeking Cove. Despite its peculiar name, it is an eerie section. Be careful of the magic axes and pickaxes, they seem to be normal items, but they will animate and take you by surprise. As the old adage goes: don’t ever get too comfortable in a dungeon! In this area, you’ll meet a lot of friends: such as level 95 Ankous, level 140 Shades, level 169 Deviant spectres, and the more commonly known Twisted Banshees (level 89, available to kill at level 15 Slayer).
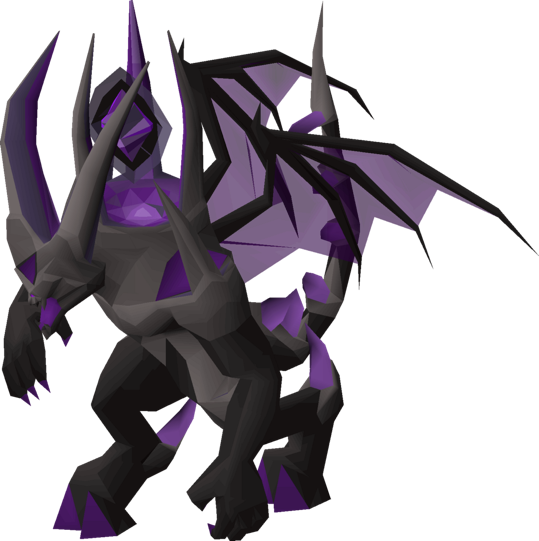
You must also remember that in the centre of the catacombs, there’s a boss available for you to access. This boss is named Skotizo, and he was added in 2016. To have a go at fighting this boss, you actually need to sacrifice a dark totem (which cannot be bought). You must grind out a dark totem by collecting its three pieces and combining them: the base, top, and the middle. You’ll get these drops by fighting monsters in the catacombs naturally, with varying drop rates, but superior slayer monsters will drop a piece guaranteed. Whether you’re successful or not in a fight, you’ll consume a dark totem piece. Skotizo is a fantastic boss to kill, as each kill is appraised at around 250,000 osrs gold.
General Strategy
Providing you have 34 Agility, you will be able to access any agility shortcut displayed on your map. You cannot use a cannon at any area of the dungeon: so don’t waste inventory space carrying it!
The dungeon is practically all considered a multi-combat region. This means that when you decide to fight a monster, any nearby monster will also target you. In single-combat regions, if you’re occupied with one enemy, the others cannot touch you until the current enemy dies. Therefore, the usage of protection prayers become increasingly within the catacombs.
You can teleport to each corner of the dungeon using ancient shards, which drop from kills within the catacombs. This teleportation is available at the centre, at the dark altar. However, using alternative entry-points is usually better than using up ancient shards.
Previously, we touched on why protection prayers were helpful for this dungeon. Another interesting fact is that burying bones within the dungeon, actually restore prayer points, alongside providing prayer experience. Bones will restore 1 prayer point, big bones restoring 2 prayer bones, and any dragon bone restores 4 prayer points. Dragon bones do have some market value, but usually not more than any drops you can get. By burying bones and prayer flicking, you no longer need to worry about prayer potions. At a certain point, you’ll be forced to leave the catacombs regardless: when you’ve got more drops than you can carry.
Hopefully, this guide has been useful. Whether you want to tackle Skotizo or just wanted to familiarise yourself with the Catacombs of Kourend for future Slayer, have fun!